WorkLedger guide
Getting started
Set up WorkLedger in the right order before entering your regular business records. This guide takes you from the initial application settings through sites, workers, attendance, wages, site finance, reports, and backups. You do not need to configure every optional feature immediately.
Category Getting started & licensing
Set up WorkLedger step by step
Confirm WorkLedger is ready
Complete registration or activation as applicable and confirm that WorkLedger is ready for normal use. Licensing and application information can be reviewed in Settings.
Review Settings and choose your operating currency
Open Settings, review the Licensing / Application information, and select the correct Operating Currency. The operating currency applies to the business database, so choose it carefully before entering regular financial records.
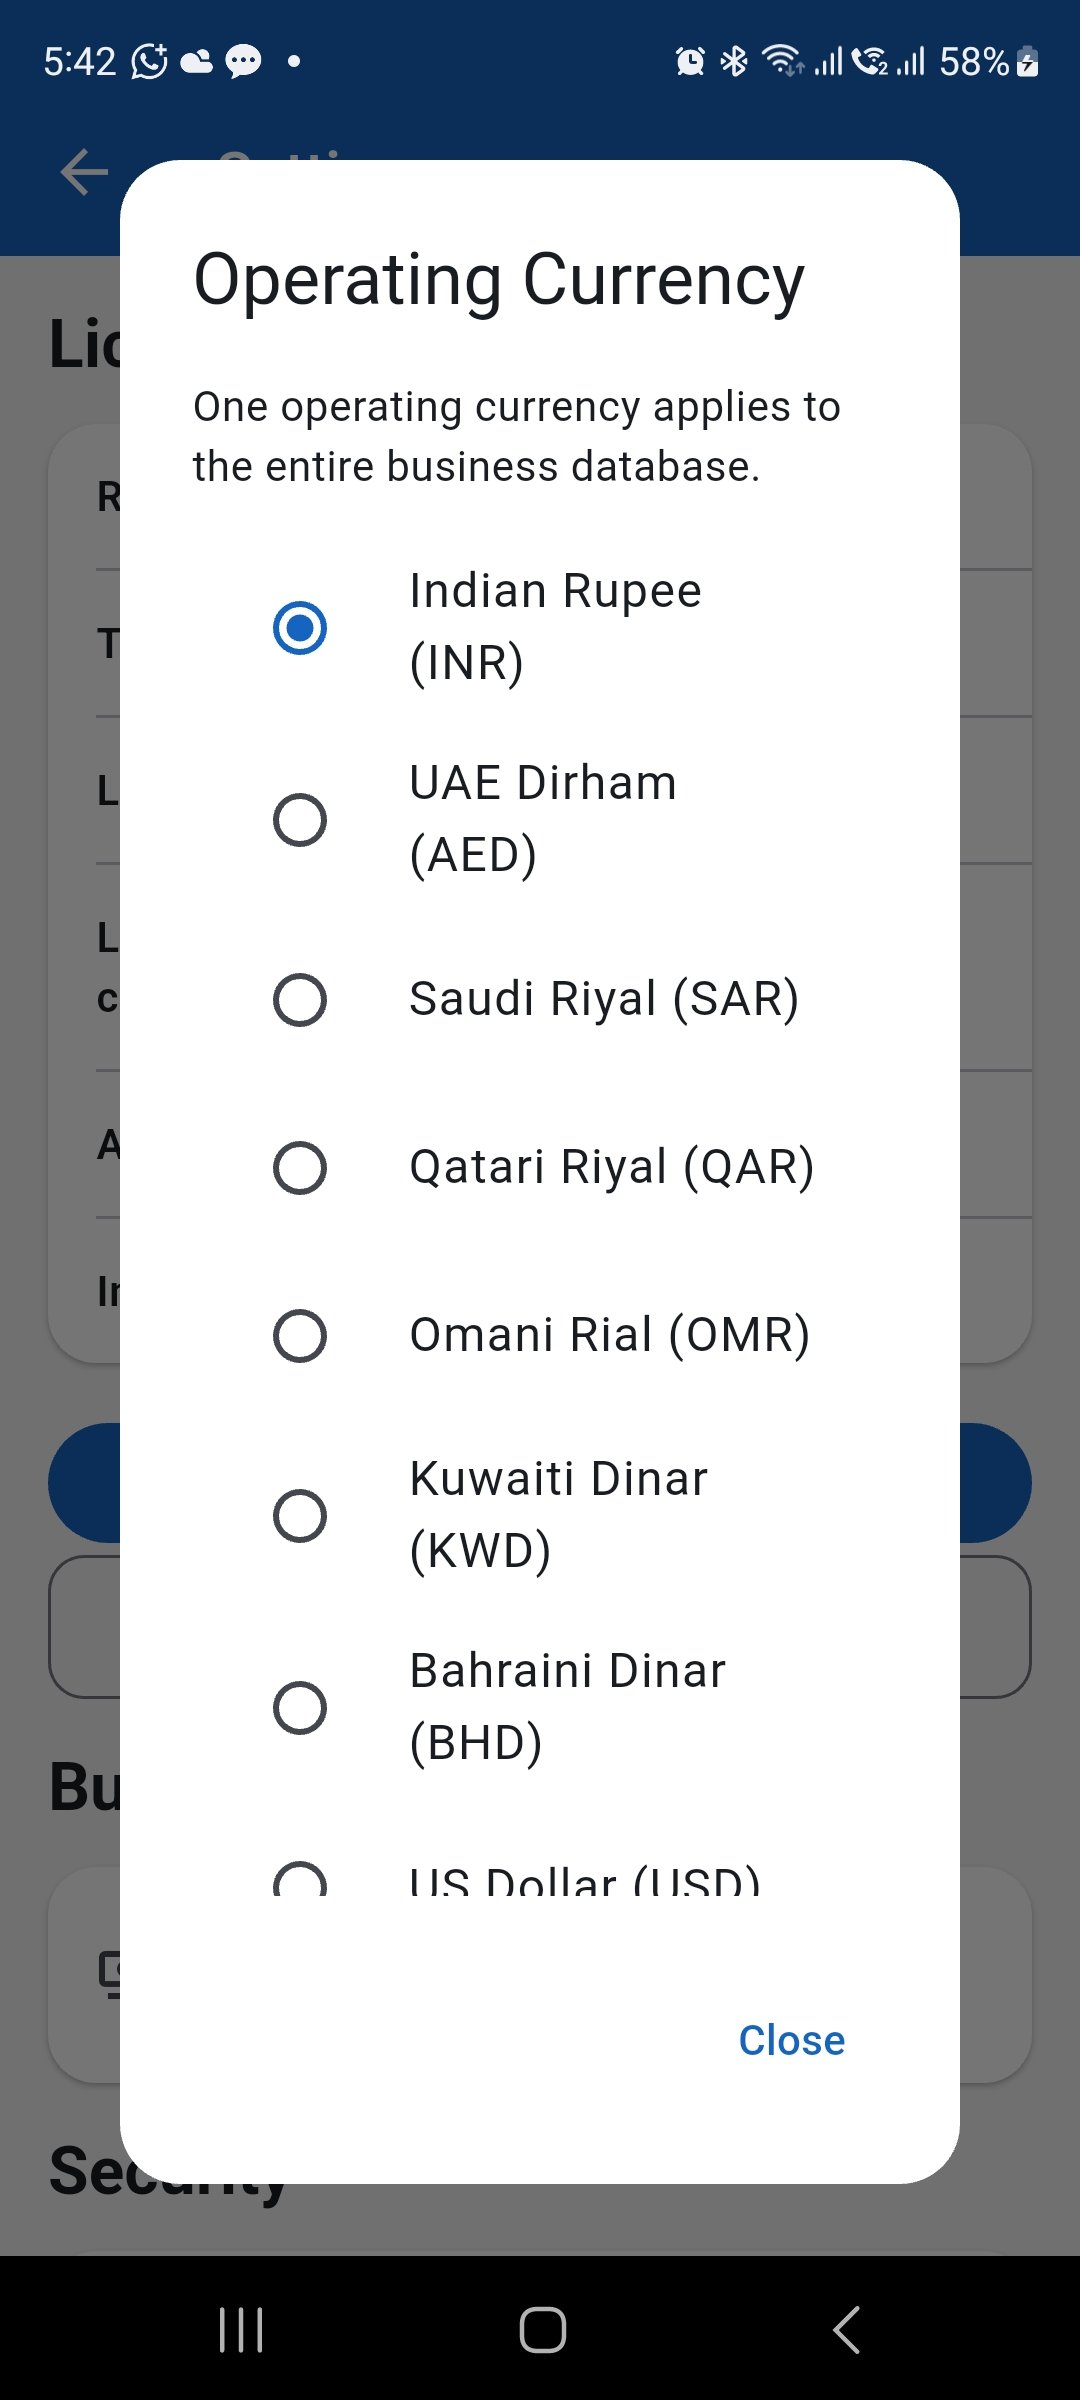
Review the application information and choose the correct operating currency before entering regular financial records. Protect the app
App Lock is optional but recommended when the device contains real business information. You can enable a 6-digit PIN, choose when WorkLedger locks after you leave the app, and enable biometric unlock on a supported device you control. See the related Security guide for full instructions.
Create your sites
Create the sites or projects you need before entering daily attendance and site financial records. Each site provides the work location or project against which relevant WorkLedger records can be organised. See the related Sites guide for detailed instructions.
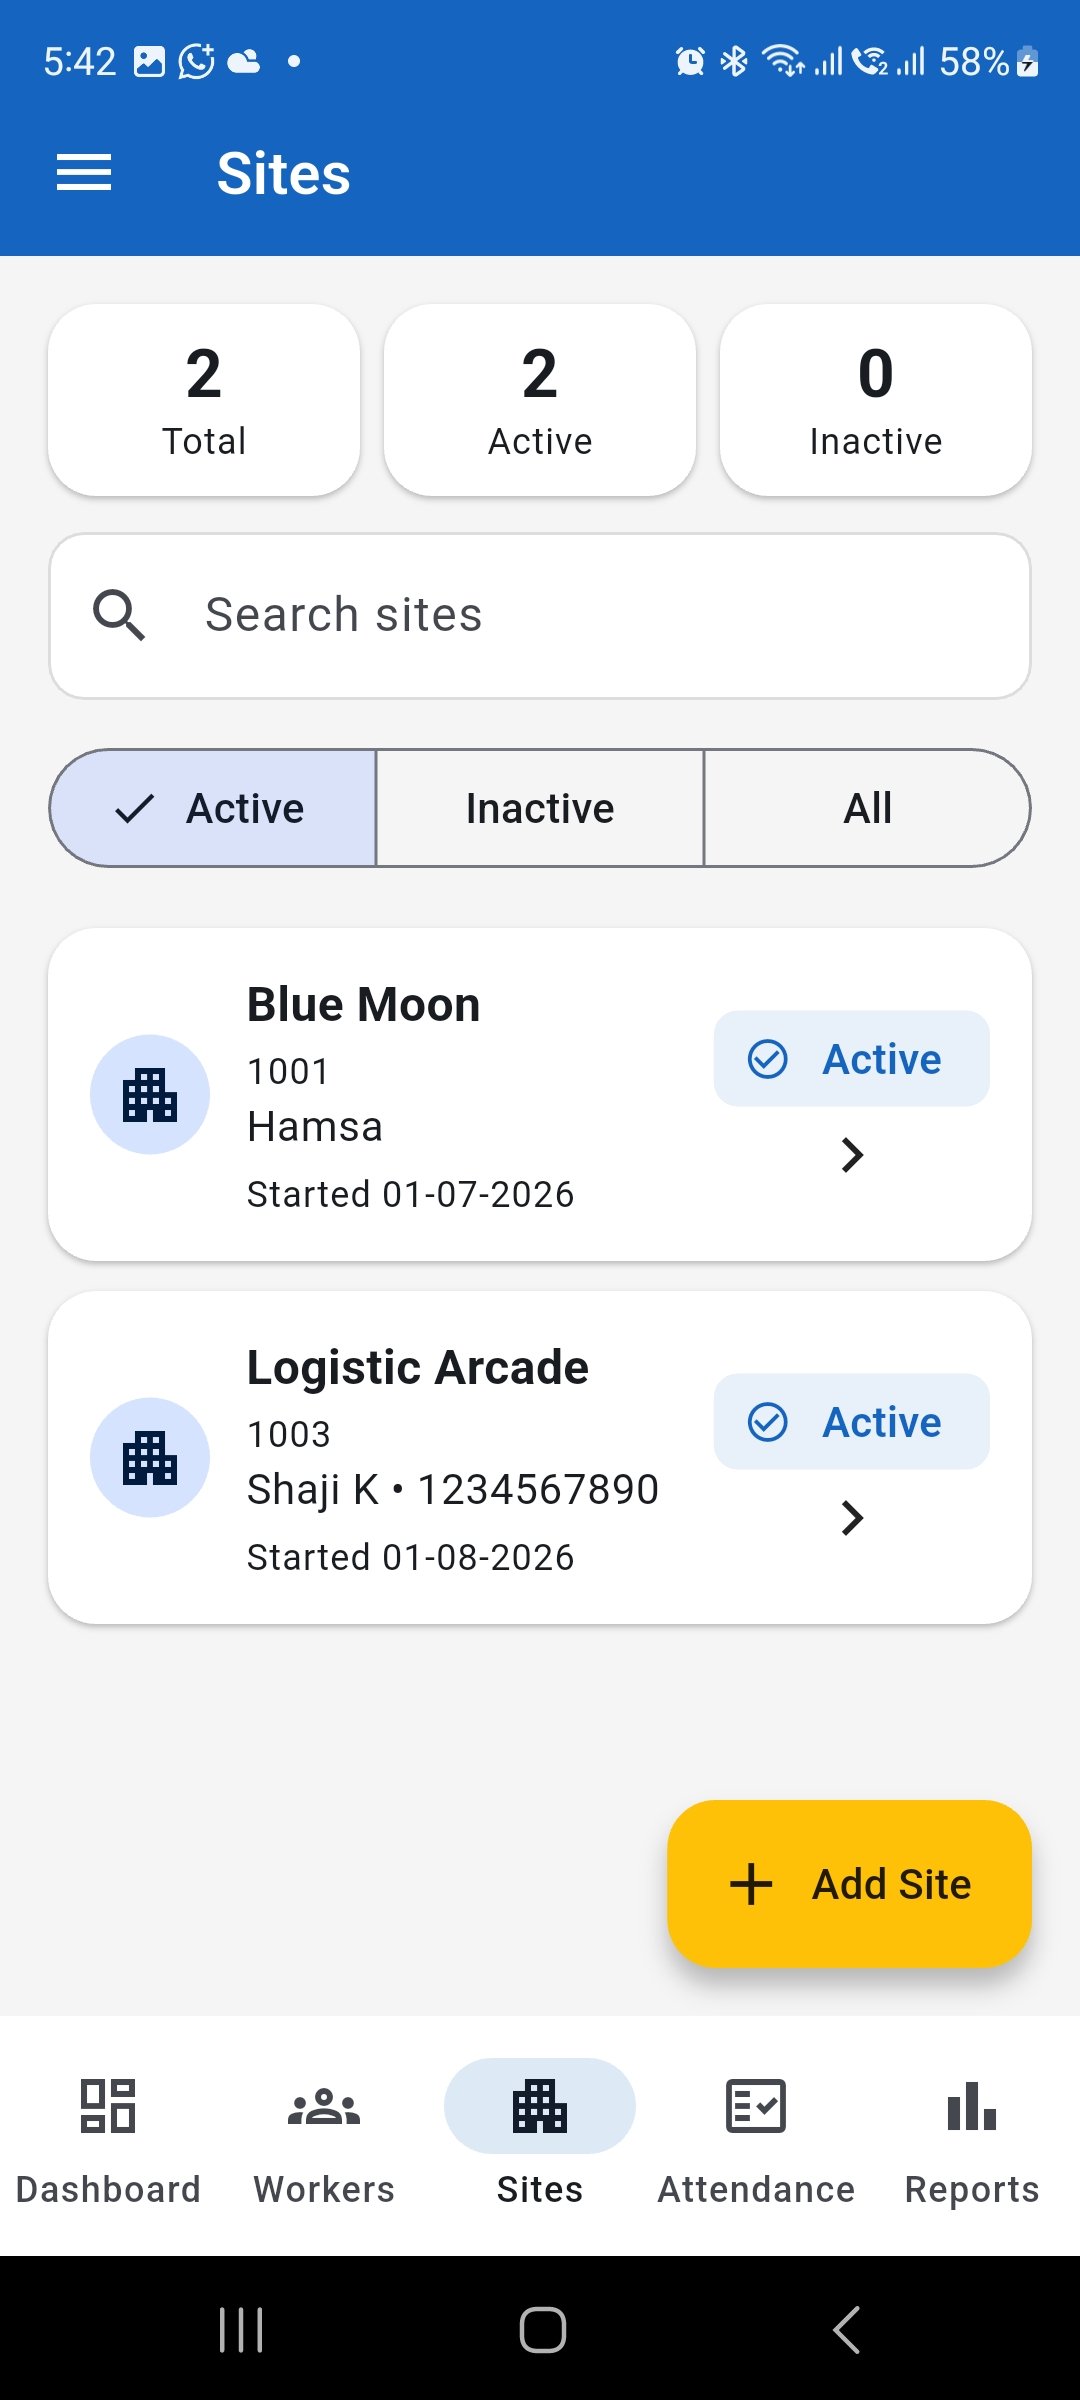
Create the sites or projects used to organise attendance and financial records. Add your workers
Create one worker record for each worker and enter the required worker and wage information carefully. Avoid duplicate worker records because they can divide attendance, wage, and payment history. See the related Workers guide for detailed instructions.
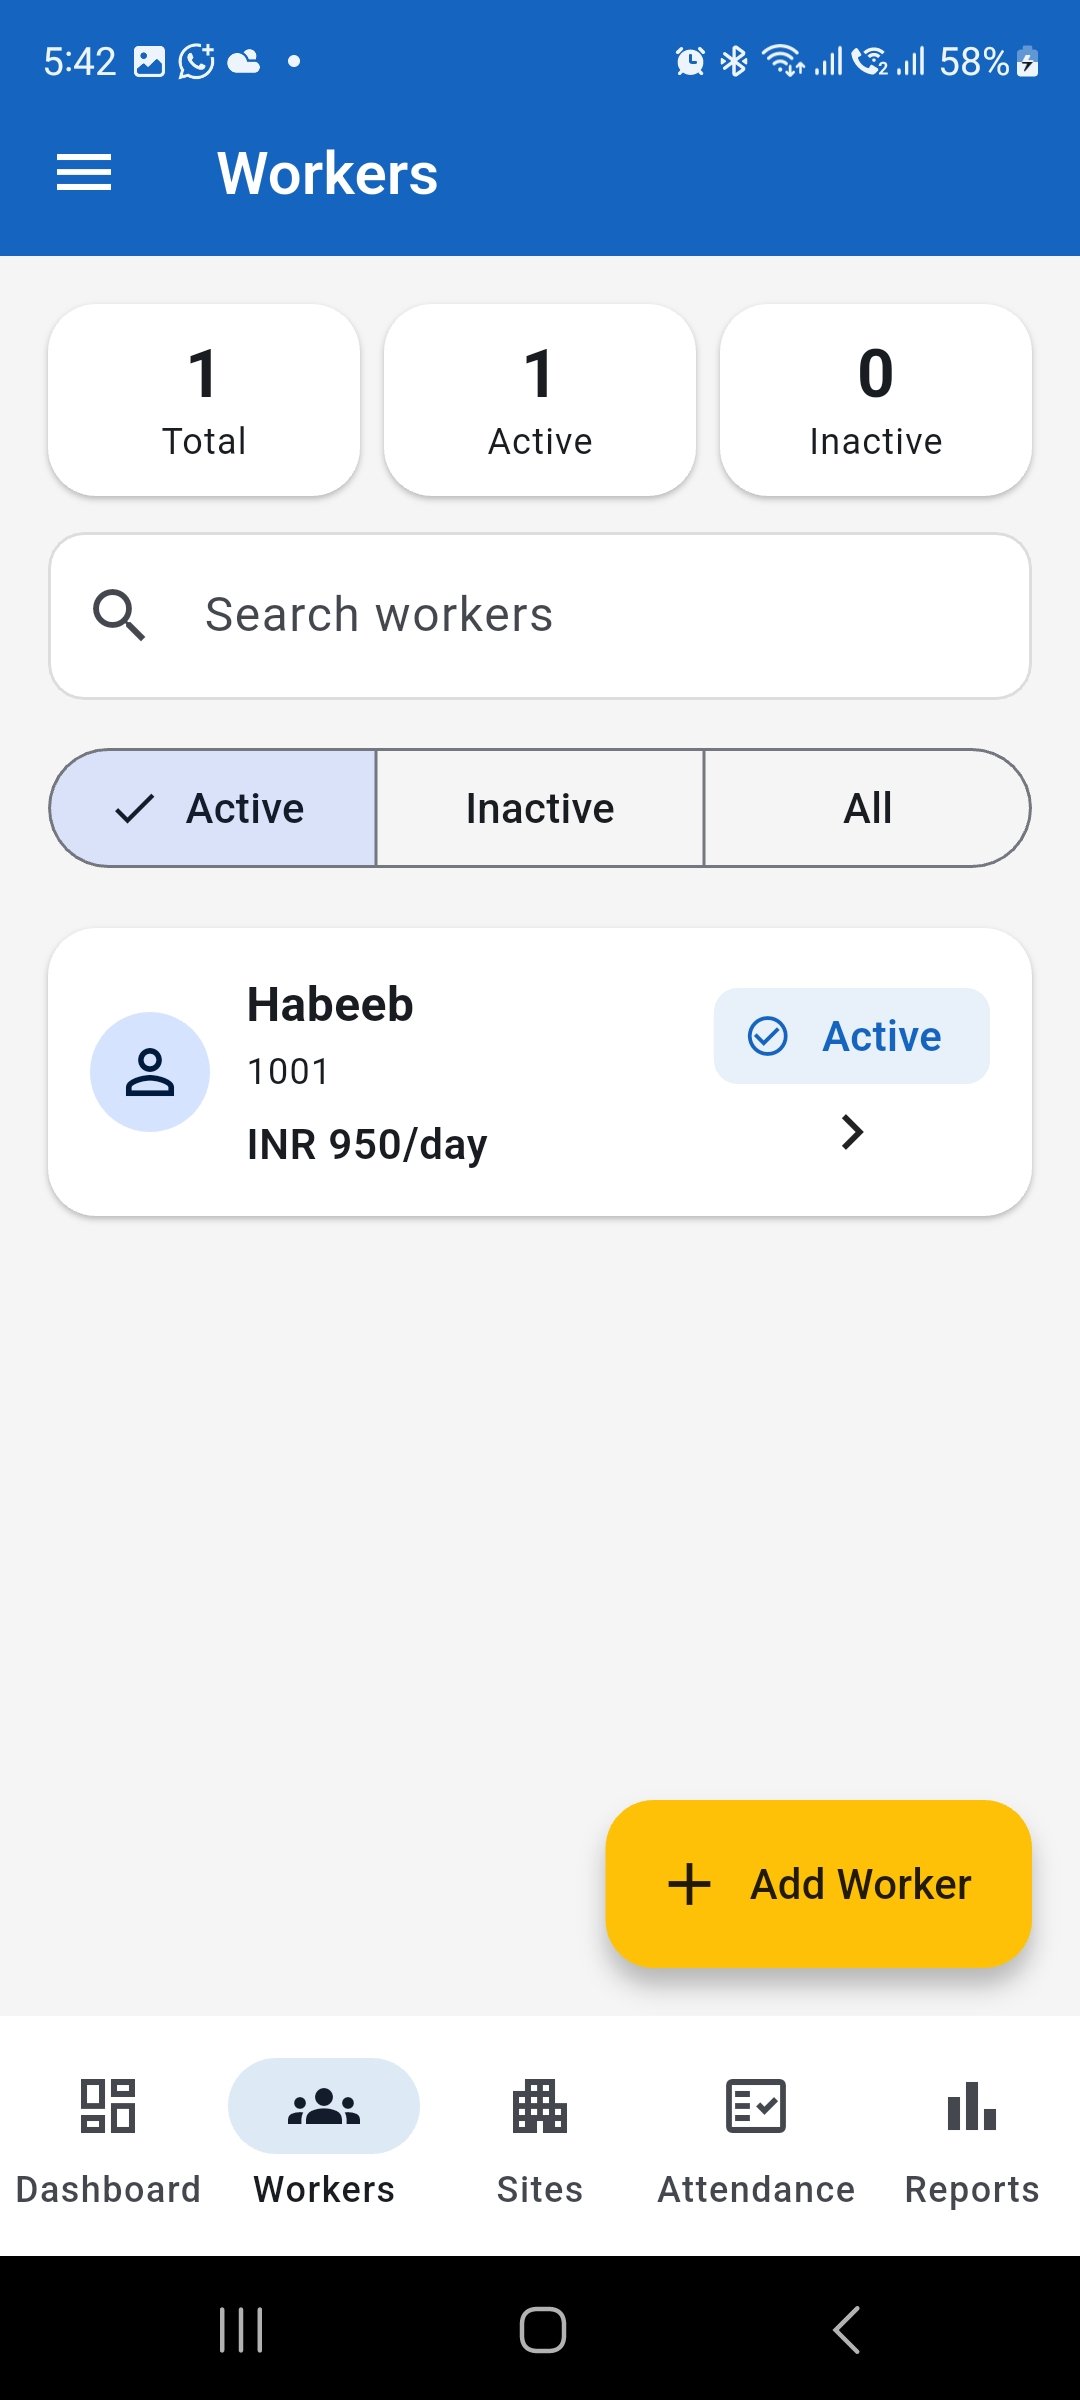
Add one accurate worker record for each person before recording attendance. Start recording attendance
Record daily attendance for workers and assign it to the appropriate site where applicable. Accurate attendance information is important for later wage and labour-cost calculations. See the related Attendance guide for detailed instructions.
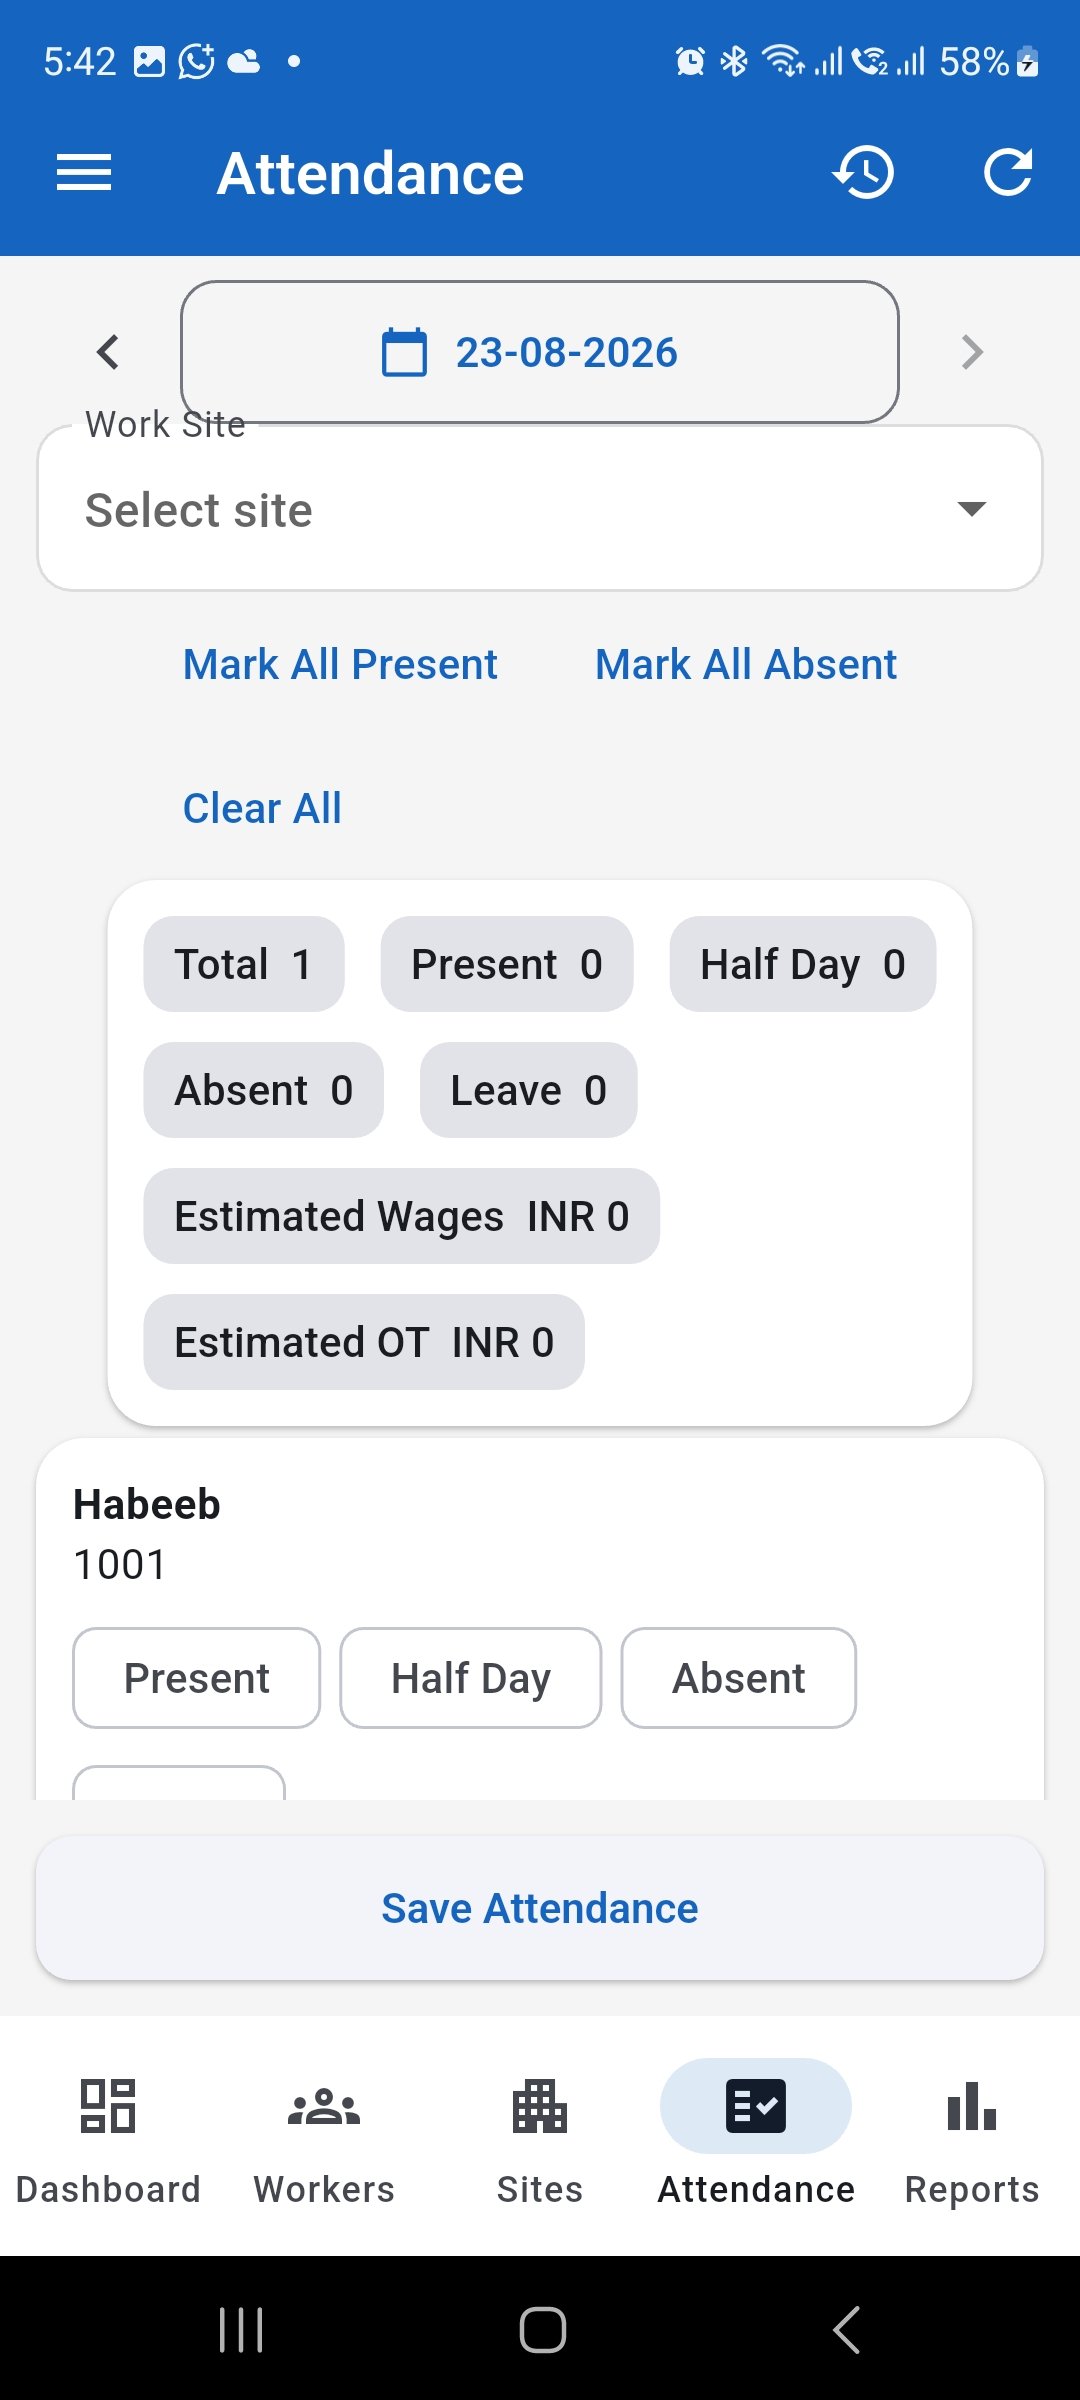
Record attendance as work occurs and assign it to the correct site. Record worker advances when applicable
Record money given to a worker as an advance in Advances. This allows WorkLedger to account for advances during the wage workflow. A worker advance is not a normal site expense.
Calculate and confirm wages
Select the appropriate worker and period, review the calculated regular wages and any overtime, review advance deductions, and verify the result. Confirm the wage calculation only when it is correct. See the related Wage calculation guide for full instructions.
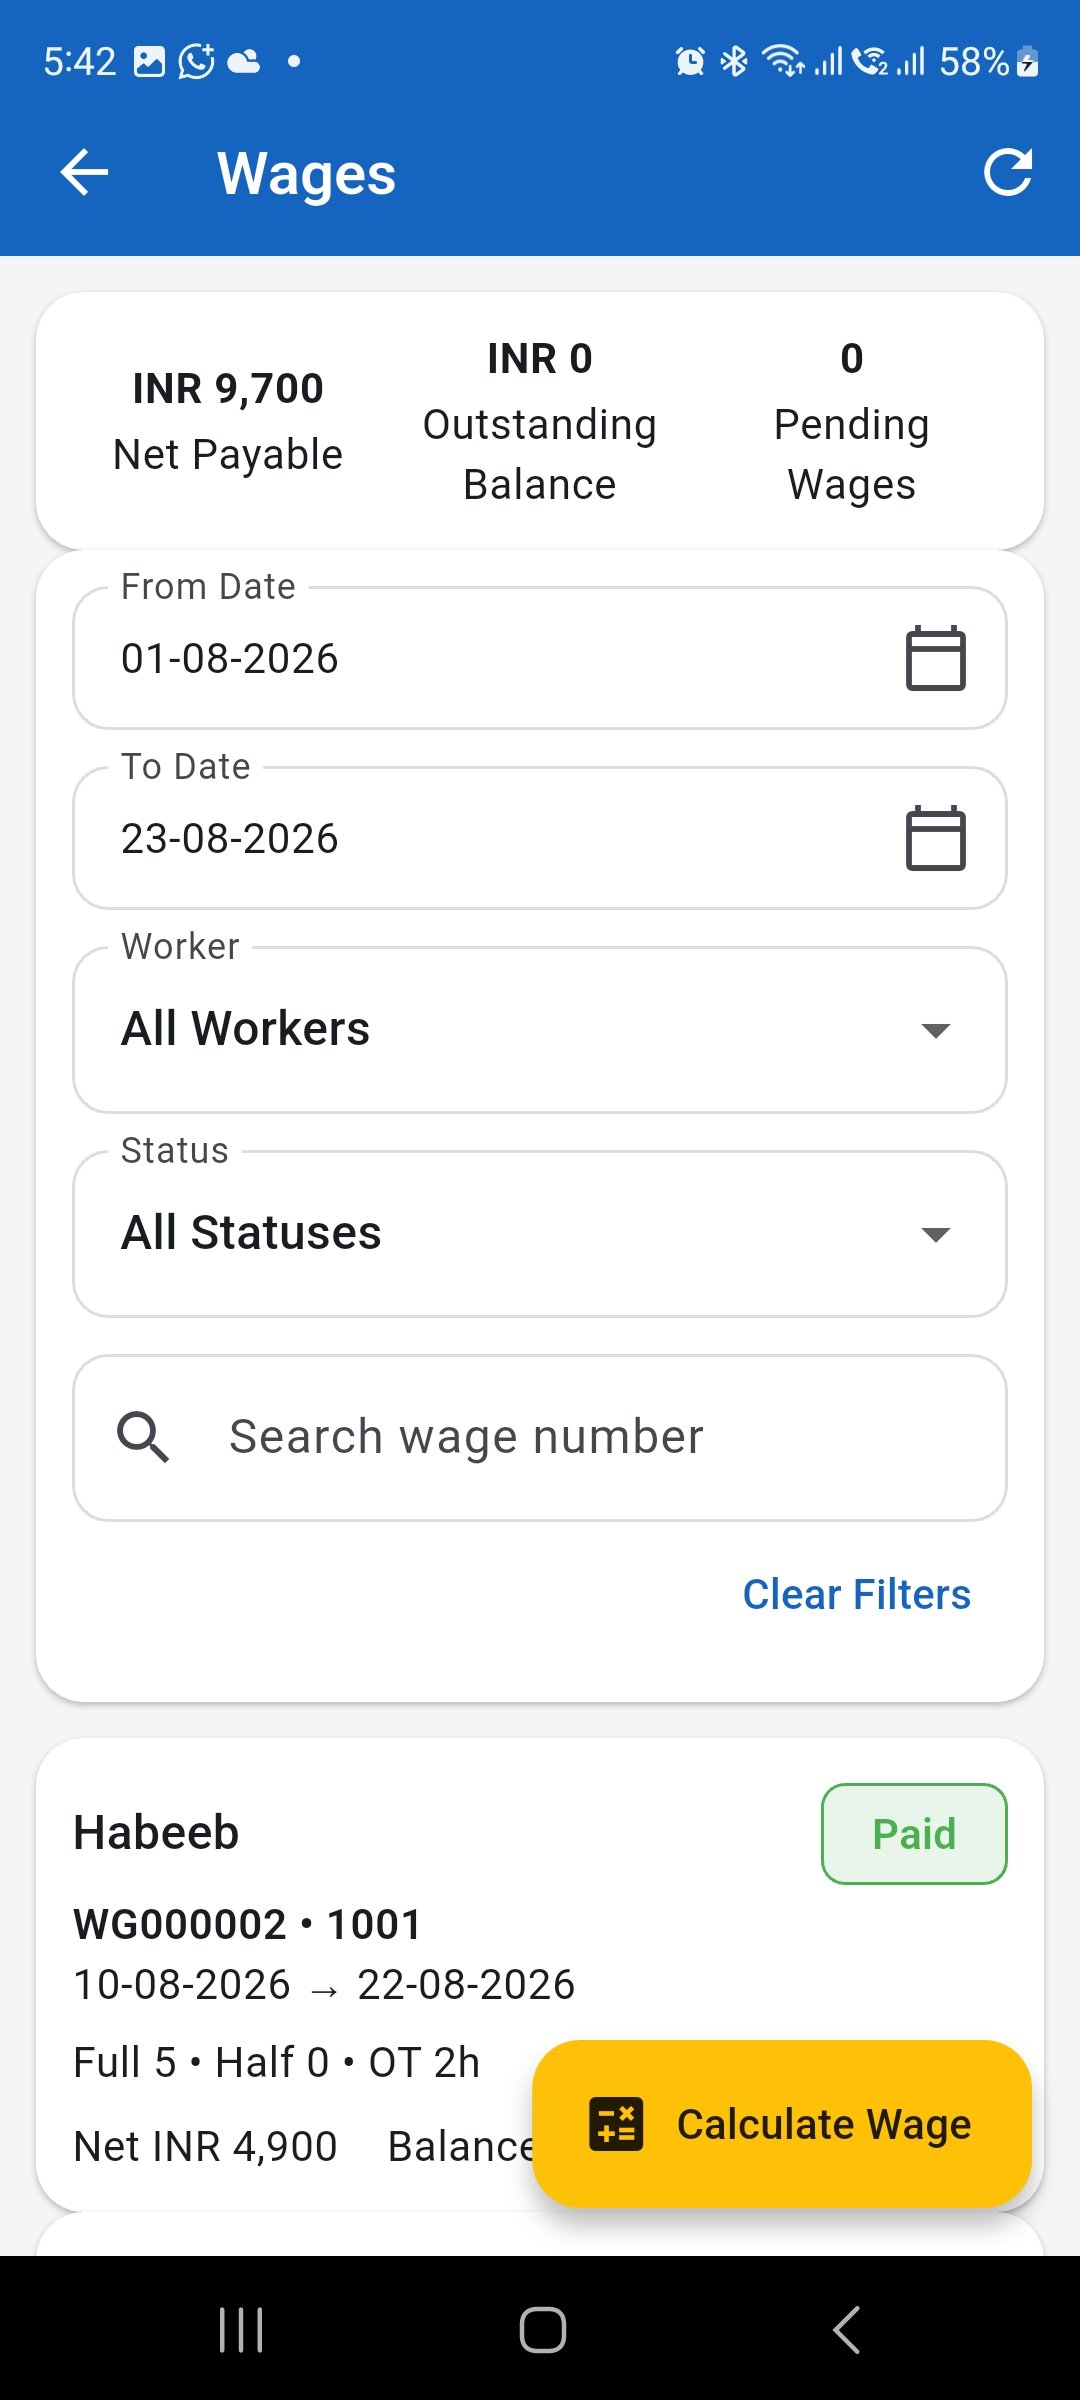
Review regular wages, overtime, advances, and the final result before confirming a wage. Record wage payments
After the relevant wage calculation has been confirmed, record the actual worker payment through the Payments workflow. Wage calculation determines the amount; recording a payment confirms money that was actually paid.
Record site income and expenses
Use Site Finance to record money received from the site owner or client, non-wage site expenses, and other supported site-finance information. Labour cost is derived from the relevant WorkLedger attendance and wage information, so do not enter worker wages again as ordinary site expenses. See the related Site finance guide for more detail.
Review reports
Use Reports to review and verify attendance, wages, payments, labour cost, and site financial information. Review reports periodically instead of waiting until a large number of records has accumulated.
Create and protect your first backup
Ordinary WorkLedger business data is primarily stored locally on the device, so you are responsible for maintaining usable backups. Create a manual backup after initial setup, keep a copy in a private protected location, configure Automatic Backup when appropriate, and periodically verify that backups can be restored. WorkLedger does not upload ordinary business backups to an e-Sahayi cloud service.
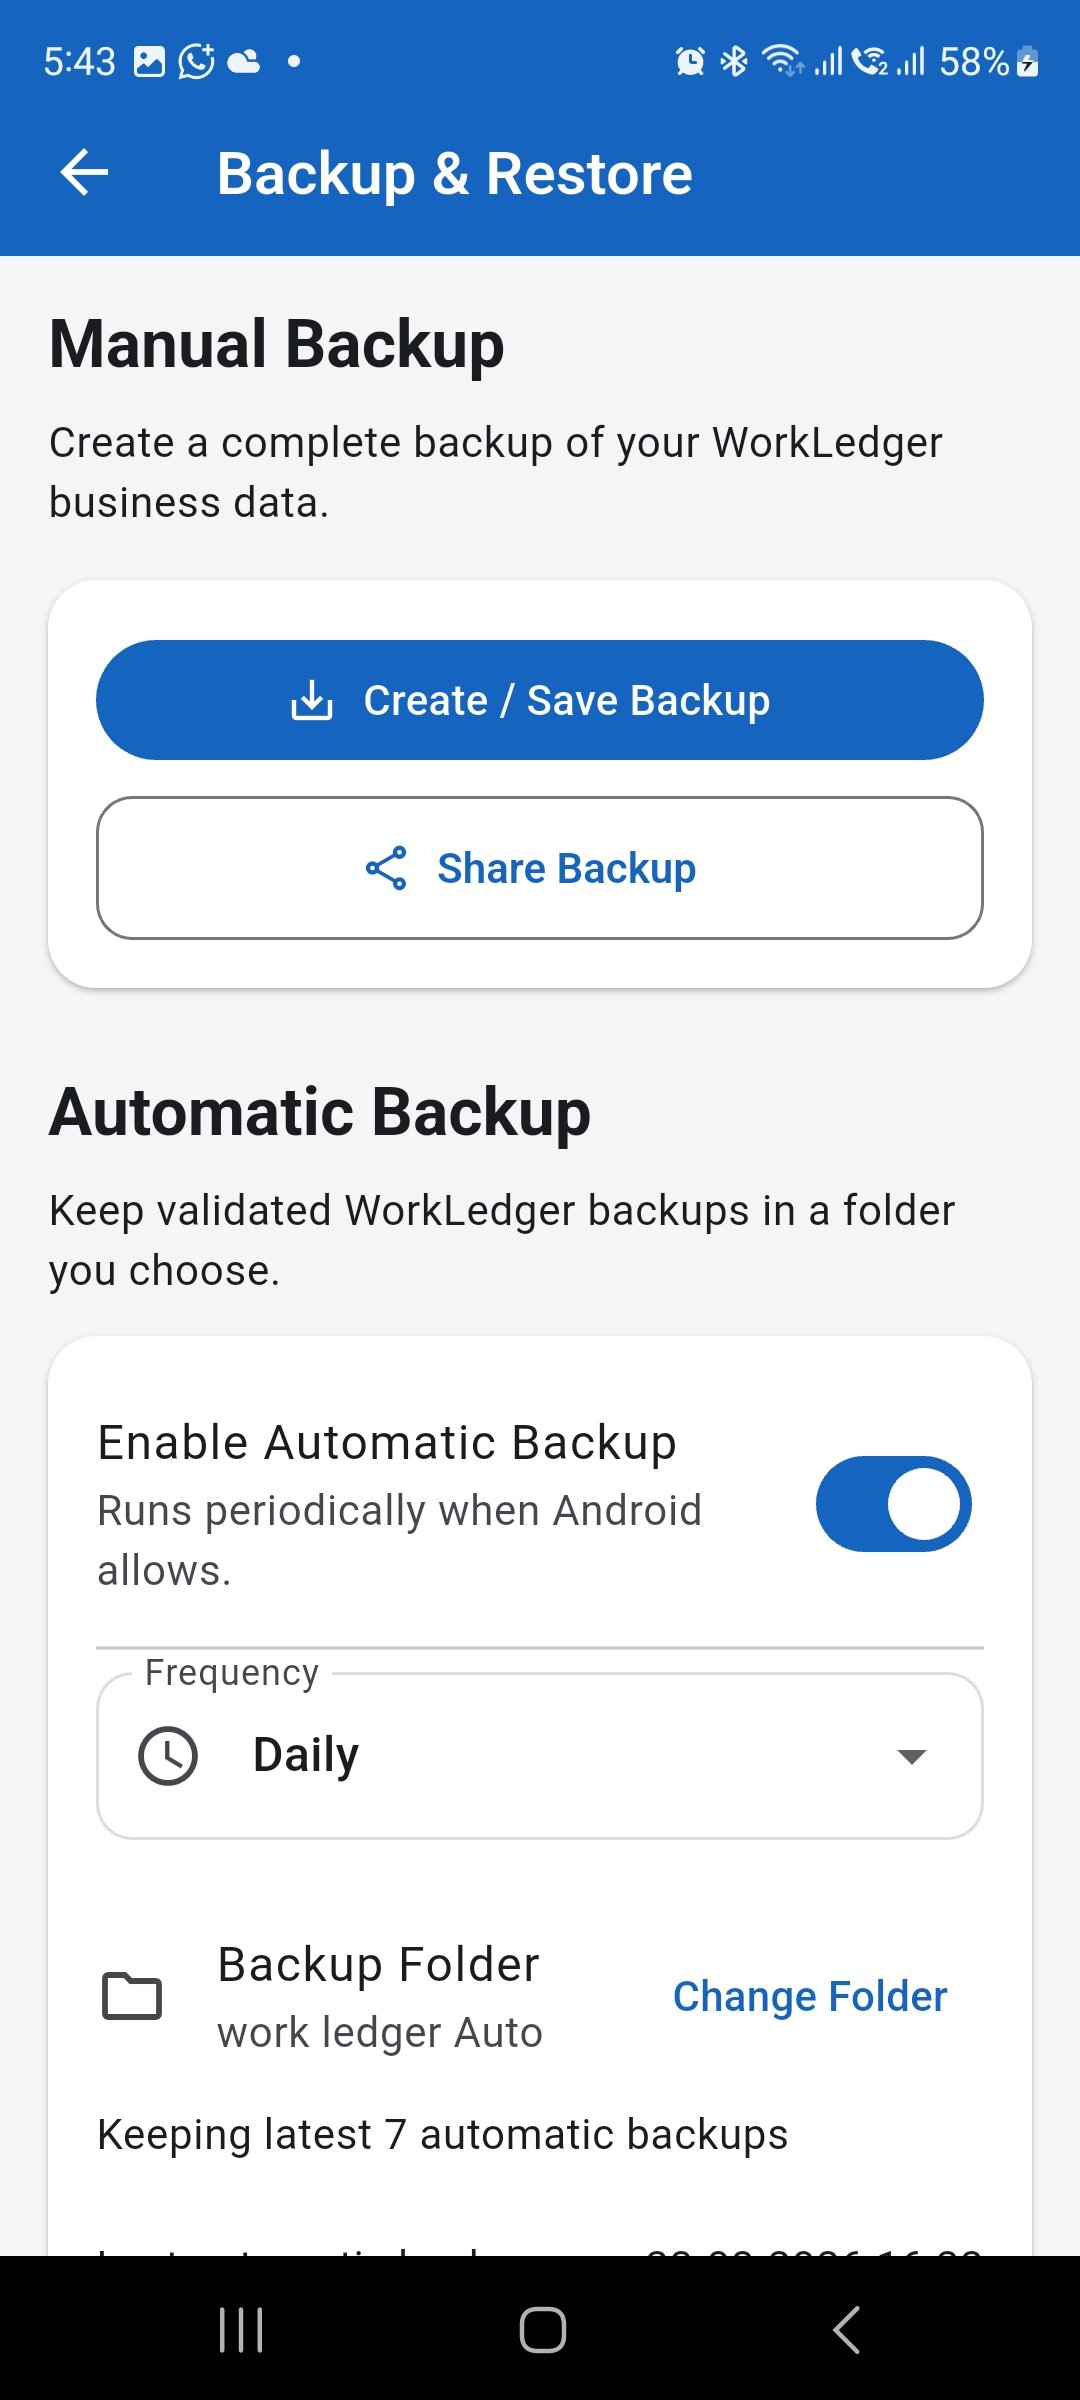
Create and protect a backup after setup, then check your backup routine regularly.
Your regular WorkLedger workflow
Attendance → Advances or site transactions → Wage calculation → Wage payments → Reports → Backup
Sites and workers are normally created when needed. Attendance is recorded as work occurs, advances, site receipts, and site expenses are entered when they happen, wages and payments are processed for the appropriate periods, and reports and backups are reviewed regularly. Not every item must be completed every day.